Strawberry Nutella Mini Pies

015

I’ve never been a fan of pie – maybe because I’ve always considered fruit to be a stand-alone food.  I don’t really care for having fruit in things, especially not warm, mushy fruit.  That being said, there’s something about pie that always seems so comforting and I often wish I liked it – so much so, that this year I’ve vowed to keep trying different ones until I find at least one that sticks.  Imagine trying to coax yourself into liking pie?!  First world problems.

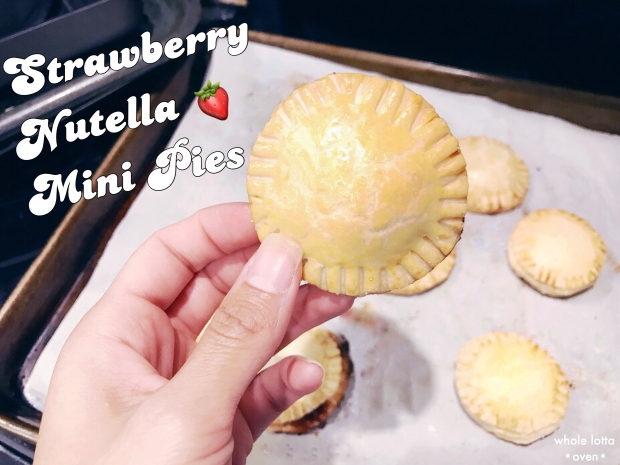
I started off with a safe bet.  I have a bunch of mini pie recipes saved on Pinterest, so I picked the one that was the least like “real” pie – Strawberry Nutella Mini Pies. Granted, the strawberry part was composed of jam and not actual fresh fruit, but it’s made from fruit so…. same difference, right?  Right.

All in all, they came out pretty good, although I feel like most of the filling disintegrated with the heat while cooking.  I’ll have to figure out how to remedy that for next time.  If nothing else, they were super easy to make and look totally adorable.  Next time I’ll try actual pie filling, but for now, baby steps…

Strawberry Nutella Mini Pies

(adapted from The Domestic Rebel)

Ingredients:

  • 1 pkg refrigerated pie crusts, room temperature
  • Strawberry Jam
  • Nutella
  • 1 egg
  • White sugar

Instructions:

  1. Preheat your oven to 350 degrees F. Line a baking sheet with parchment paper.
  2. On a flat surface, roll out the pie dough. Cut out as many circles as you can with a cookie cutter. I got about 14 out of one roll, but had to re-roll it out after about half of that in order to get more.
  3. Place half the circles on the baking sheet and put the rest aside.
  4. Add about ½ tsp of strawberry jam in the center another ½ tsp of Nutella on top of the strawberry jam.
  5. Beat the egg in a small bowl and add a splash of water to it. Using your finger, spread the egg around the exposed crust around the filling.
  6. Place another circle on top of the filling and press down around the edges, then seal it all the way around with a small fork.
  7. Brush egg on top of each of the circles and sprinkle with white sugar.
  8. Bake for approx. 20 minutes or until the tops are golden. Cool the pies on the baking sheet slightly before serving.

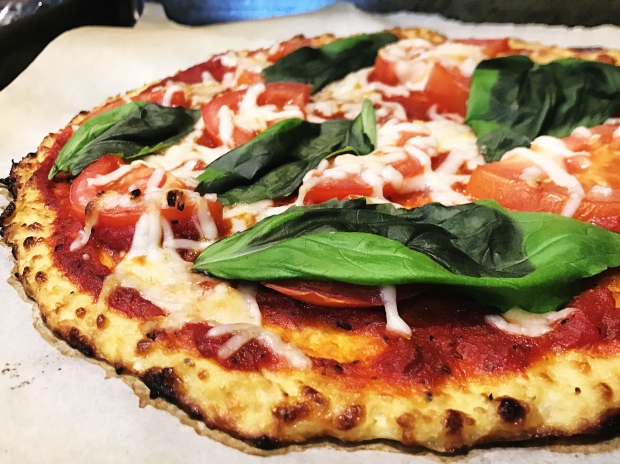
Cauliflower Crust Pizza with Fresh Tomato and Basil

img_5162

Ingredients:

  • 2 1/2 cups riced cauliflower (use a grater or food processor for this – I use the prepackaged kind)
  • 1 large egg, lightly beaten
  • 1 1/4 cups part skim shredded mozzarella cheese
  • 2 tablespoons grated parmesan cheese
  • 1 teaspoon garlic powder
  • 1/4 cup tomato sauce
  • 1 tomato, sliced
  • Olive oil
  • Fresh basil leaves

Directions:

Preheat oven to 425ºF and line a baking sheet with parchment paper.

Place cauliflower in a microwave safe bowl and cook for about 7-8 minutes. Set aside and let cool.

In the meantime, cut tomato into thin slices and remove basil leaves from stems.

Once cauliflower is cool, mix in egg, 1 cup mozzarella, parmesean and garlic powder. Transfer mixture to your baking sheet and pat into 10 inch round. Brush top of Crust lightly with olive oil. Bake for about 10-15 minutes or until golden brown.

Remove from oven and add tomato sauce, 1/4 cup mozzarella and sliced tomato. Bake another 10 minutes until cheese is melted. Add fresh basil and serve!

Torally healthy pizza party!

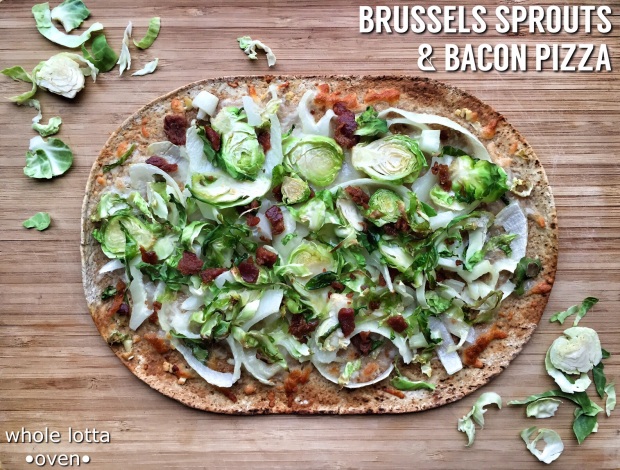
Brussels Sprouts & Bacon Pizza

image

Brussels sprouts.  There are a lot of mixed feelings on this little green veggie, most of which stem from having been force fed as a child.  As it turns out, neither one of my parents cared for them, so I didn’t have to suffer this trauma.  I had my first Brussels sprout at 32 when my now sister-in-law made them for Thanksgiving.  In the interest of full disclosure, they were roasted in bacon fat so they were hard not to love.

After that, I went through a pretty hardcore Brussels sprouts phase.  Not being a big veggie fan, I’ve discovered that I’ll eat most vegetables when they’re roasted.  I skipped the bacon fat, mainly because it seemed like too much trouble, and roasted them in good old olive oil instead. This was usually done when Hubs wasn’t home because he was one of the unfortunate traumatized children and can’t stand the smell, even though it still smelled plenty when he got home.

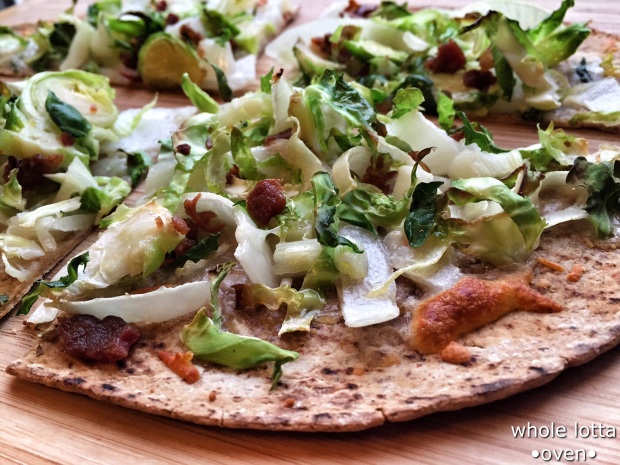
image

Like all phases, Brussels sprouts came and went.  I moved on to less stinky veggies, like zucchini and spaghetti squash.  My frozen pizza phase is the only one that has truly stood the test of time.  I love frozen pizza more than anyone ever should.  It’s my dirty little secret.  I’m not ashamed.

So speaking of pizza, I stumbled across a recipe for Brussels sprouts pizza with optional bacon.  Why anyone would make bacon option, I’ll never know.  I kid – I heart all you vegans out there.  Anyway, so Hubs was working last night and I thought that to be the perfect time to break out the Brussels and try this in a feeble attempt to eat healthy.  I tweaked it here and ended up with the most delicious, guilt-free meal.  For real, these ain’t your mama’s Brussels.

I loved it so much, I’m making it again tomorrow night.  Trust me, you’ll never look at Brussels sprouts the same way again.

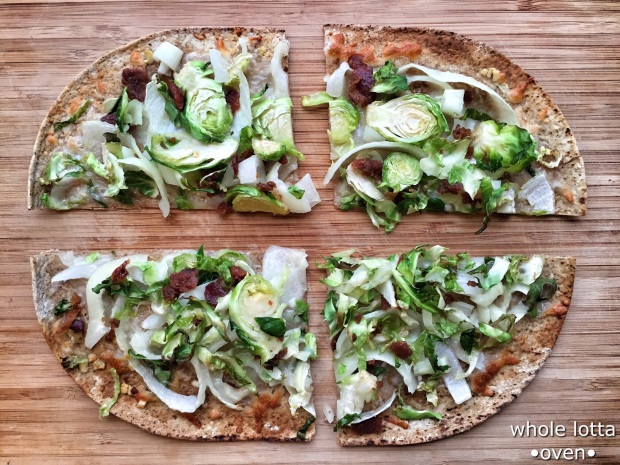
image

Brussels Sprouts & Bacon Pizza

(adapted from Kitchen Treaty)

Ingredients:

  • 1 Flatout Wrap
  • 2 Tbsp olive oil
  • 2 cloves garlic, minced
  • 1/4 cup reduced fat shredded mozzarella
  • 1/3 sweet onion, sliced
  • 1 cup shaved Brussels sprouts
  • 1-1 1/2 Tbsp Real Bacon Bits (optional)

Directions:

Preheat oven to 425 degrees.

In a small bowl, mix the olive oil with the minced garlic.

Place wrap on a baking sheet and brush the top with a little of the olive oil garlic mixture.

Spread onions out on wrap, then sprinkle with shredded mozzarella.

Toss Brussels with remaining olive oil and garlic.

Pile loosely to about 1/2 inch of the edge of the wrap.

Top pizza with crumbled bacon (omit if vegan).

Bake for 8 – 10 minutes until wrap is crisp around the edges, cheese is melted, and Brussels & onions are tender.

Cut into quarters and enjoy!

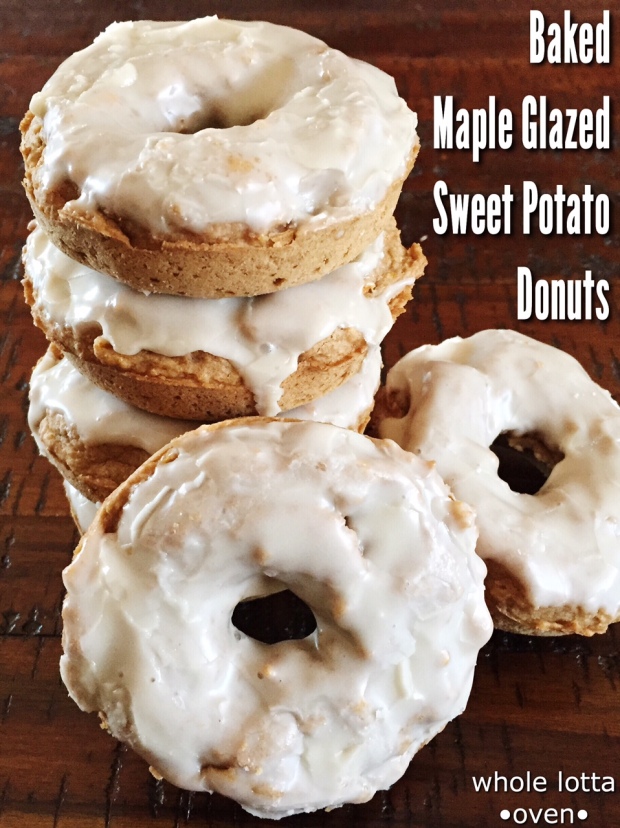
Baked Maple Glazed Sweet Potato Doughnuts

IMG_0314

It’s no secret that last night was the epic season finale of The Walking Dead.  I’m not entirely sure how I’m going to survive the Sunday night blues for the next seven months, but that’s a therapy session for another day.  Daryl is still alive and I think we can all agree that that’s the most important thing.

Hubs went to the Rangers game in the afternoon, so to curb my anxiety about who was going to make it out of the finale alive, I did what any rational person would do.  I baked.  I figured I could kill two birds with one stone by distracting myself while simultaneously creating the material for my first post here.  Win Win!

IMG_0312

Doughnuts.  I love them.  They’re like little circles of joy.  There are no great donut shops in my immediate area, which is a sadness unto itself.  There are doughnuts aplenty in Brooklyn, but… well, traffic.  So, what does one do?  Bake them yourself.

I’ve been dying to make mashed potato doughnuts since probably around Thanksgiving, so I decided that yesterday was the day.  I was doing it and no one was going to stop me – not even my restless puppy who kept asking to come inside just so she could go back out.  I headed to the grocery store, got myself a big ‘ol sweet potato and got to work.  I mashed, mixed and baked my way to some pretty tasty donuts.

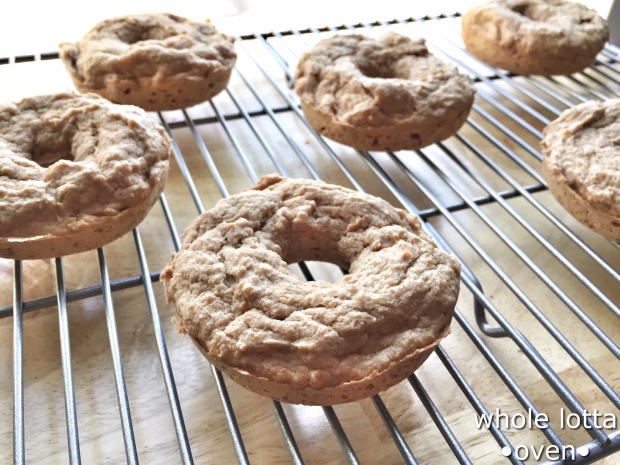
The batter was pretty thick and sticky, so they aren’t the most perfect looking donuts in the world, but I think it gives them character.  Besides, zombies are in no place to discriminate.

IMG_0313

Baked Maple Glazed Sweet Potato Doughnuts

(Adapted from Around My Family Table)

Ingredients:

{Makes approx. 8 full size doughnuts}

Donuts:

  • 6 Tbsp butter, softened
  • ½ cup brown sugar
  • 1 ½ cups whole wheat flour
  • 2 ¼ tsp baking powder
  • ¼ tsp salt
  • ½ tsp cinnamon
  • 1 cup almond milk
  • ½ cup mashed sweet potato

Glaze:

  • 1 cup powdered sugar
  • 2 Tbsp maple syrup
  • 2-3 tsp almond milk
  • Instructions:

Preheat oven to 350 degrees.

Pierce sweet potato all over with a fork. Place it on a microwave safe plate and cover with a damp paper towel. Microwave for 7 minutes or until sweet potato is soft to the touch. Remove from microwave and let cool a bit. Then peel off the skin and discard. Mash the sweet potato with a fork and set aside ½ cup for your recipe. Store the rest for later… or to snack on while you bake.

Combine butter and sugar in a large bowl and mix well.

Add flour, baking powder, salt, and cinnamon – stir to combine. Then add the milk and mashed sweet potato and mix well.

Fill your doughnut pan and let bake for 15-20 minutes until top of donuts are golden and firm. Insert toothpick to make sure it comes out clean and remove pan from oven. Let donuts cool for 5-10 minutes, then remove from pan and place on a cooling rack.

{Tip: Fill a Ziplock bag with the batter, snip the tip, and use to fill the doughnut pan.}

While the doughnuts are cooling, make the glaze.

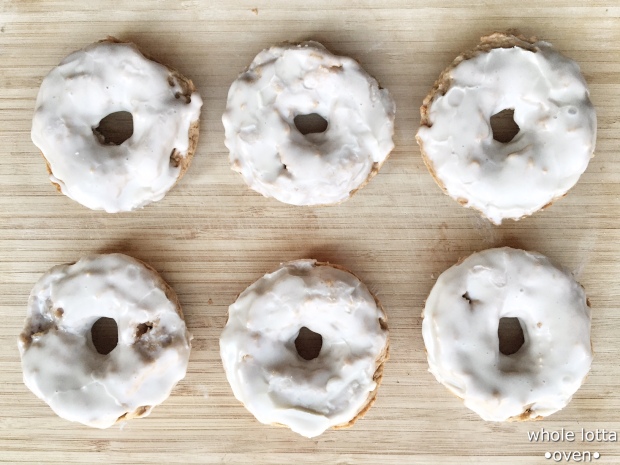
Combine powdered sugar and syrup in a small bowl and mix well. Add milk one teaspoon at a time until the glaze is thin, but not runny. Dip your doughnuts one at a time and place them back on your rack to set.  Glaze will harden fairly quickly.

Enjoy!